Quick and Easy Guide to Installing Grass Sod for a Beautiful Lawn
Achieving the lawn of your dreams is as easy as can be with fresh sod. While you can hire someone to complete the installation for you, you also have the option of saving money by getting the job done yourself. All it takes is a few common tools and a bit of work.
Follow these steps, and you’ll be enjoying your nice new lawn in no time.
Step 1 – Choose Your Grass Type
Prior to installation, you’ll need to choose which type of grass you would like for your lawn. Florida is home to a variety of microclimates. It is important to select a grass variety that will thrive in your local area. Be sure to account for salt content of your soil, amount of sunlight or shade, and foot traffic on your lawn. These factors will influence which type of grass is best for your needs. Our sod experts will be more than happy to assist you in making your selection.
Step 2 – Measure Your Lawn Area
Now that you know which type of grass you want, you’ll need to figure out how much sod to order. Measure the square footage of the area where you plan to install, and place your order accordingly. It is always smart to order a bit more than you think you’ll need. This will come in handy if you have any irregularly shaped areas in your lawn or if any of the sod gets damaged. It is always better to have extra sod than not enough.
Step 3 – Clear the Installation Site
While you are waiting for your sod to be delivered, you can start getting the area ready for the installation. If there is any grass already in place, you’ll need to remove it first, as fresh sod won’t be able to take root over an existing lawn. Once the grass is cleared away, or if you didn’t have any grass in the first place, remove any weeds that are present. The weeds need to be removed fully down to the root structure.
Step 4 – Prepare the Soil
With all grass and weeds removed, you can move on to loosening up the soil. This will make it easier for your new sod to establish itself. Use a rototiller to break up the top layer of soil, working down about 6 inches deep. You can buy or rent a rototiller from most garden or home improvement stores. Remove any rocks you uncover in the process. Before you finish, make sure that the entire surface is as level as possible and that the top is about an inch below any patios, paths, or other garden features.
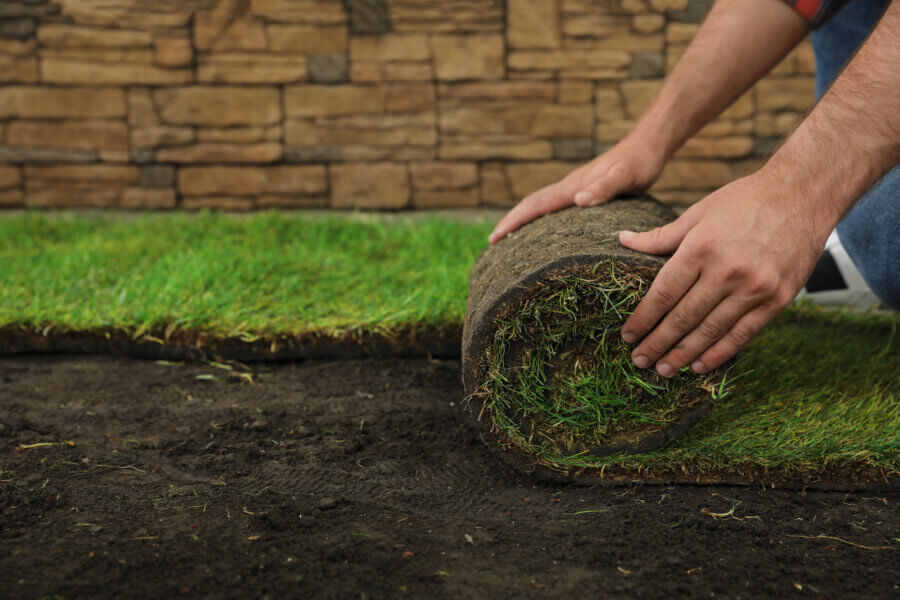
Step 5 – Lay the Sod
Aim to install your sod on the day it is delivered to prevent it from drying out and potentially dying off before it can take root. Roll out the sod in neat rows, taking care to line up the edges as closely as possible. Trim away any excess around the edges or irregular areas. Water your sod deeply as soon as you finish installing it, and stay off of it for at least two weeks. Continue watering every day for the first week, then switch to every other day. Wait until the grass is at least 3 inches high and at least two weeks have passed, whichever takes longer, before mowing.
Contact Duda Sod
Here at Duda Sod, our sod farms produce a wide range of sod types to suit your home needs.
We’ll arrange the delivery of the sod to your home and can also arrange for installation if you would prefer not to handle this task yourself. Get in touch with our team today to get started.