How to Calibrate a Fertilizer Spreader
Just because you bought a brand new spreader at the DIY store, it doesn’t mean it is accurate. In order to prevent under or over application of fertilizer, feed, and seed to your beautiful lawn, it is a good idea to calibrate your spreader whether it is right off the shelf or several years old. You can avoid burn spots, invasive crab grass, and dark stripes when you have the right tools in place.
Do You have a Rotary or Drop Spreader?
There are two popular styles of fertilizer spreaders and one probably lives in your shed. Drop spreaders are typically rectangular buckets on wheels with a rotating agitator positioned in the bottom of the bucket. Fertilizer drops through adjustable holes at the bottom of the bucket onto your lawn. The holes can be made larger or smaller using a knob positioned near the handle.
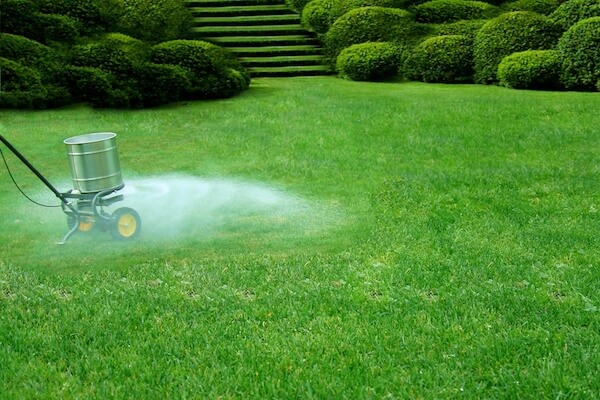
Rotary spreaders cover larger areas at a faster rate and often have a barrel shaped bucket to hold your fertilizer or seed. The fertilizer drops through an adjustable hole at the bottom of the bucket where the spinning blades catch and cast the pellets with a helicopter type motion. They are harder to control where the fertilizer lands and may require multiple runs to get good coverage.
Drop Spreader Calibration
- Mark Out a Path: You need to determine how much fertilizer should be used over 100 sq. ft. If your spreader is 24 inches wide, then you need a path that is two feet wide and 50 feet long.
- Attach the Catch Pan: Many spreaders have a catch pan available for this purpose. It bolts on underneath the bucket so the fertilizer passes through the holes, but not onto the ground.
- Position the Setting Knob According to the Fertilizer: Your seed or lawn food will be marked with a recommended setting for most popular spreaders. It’s a good place to start to see how accurate your machine is off the rack.
- Pour in the Fertilizer: Start with a known quantity of fertilizer or seed like a five or ten-pound bag. Pour in the whole amount.
- Walk the Path: Position your spreader a couple feet before the start line, pull the lever to open the spreader and walk at a comfortable pace to the end of your marked path.
- Weigh the Amount Used: After you are done you will either weigh the amount of fertilizer in your catch pan, or weigh the remaining in the spreader and deduct that from your starting weight. This is how much fertilizer your spreader is putting down over 100 sq ft.
- Adjust Your Settings: If you used more or less than the recommended amount for the lawn care product you are using, you will need to adjust the setting on your spreader appropriately.
- Repeat: Empty out your spreader and start the process over from Step 3. You may have to do this a couple times before you find the right setting to apply the correct amount of feed.
Rotary Spreader Calibration
- Find Your Casting Width: Place a collection of pans in a straight line one foot apart. Place some seed or fertilizer in your spreader. Open the spreader and walk perpendicular to the line of pans down the center. Find the pan where no more seed is found. Measure the width from the centerline to the farthest point and divide by 2/3. Then multiply that number by two. That is your casting width.
- Mark Out Your Path: The length of the path will be 100 feet divided by your casting width.
- Follow Steps 3-5 from Drop Spreader Calibration: Except you will walk the path twice as rotary spreaders require an overlapping application.
- Weigh Remaining Product in the Spreader: Subtract the amount of remaining seed from your starting amount to find the amount of feed that you used per 100 sq feet. That is why you need a full five or ten-pound bag to start.
- Adjust and Repeat: Until you are using the correct amount of fertilizer.
For more lawn care tips and ideas, contact your local professional at DudaSod. Between services, we can provide clear advice on how to extend the life of your lawn and increase the enjoyment of your home.