How to Lay Sod – One Step at a Time
Step 1 – Remove Any Existing Grass
To give your new sod the best chance of taking root, it is important to first clear the area of any grass or weeds that are already there. You can use chemical grass killers, but this could jeopardize your new lawn and the water, so it is better to do the job manually, or chose a natural herbicide. A rototiller is a perfect tool to help you get the job done. You’ll need to use one in the next step anyway, so this will kill two birds with one stone, so to speak. If you don’t have any existing grass, you can skip to the next step.
Step 2 – Prepare the Soil
Before you can lay the sod, you’ll need to ensure that the soil underneath is ready for it. A rototiller will aerate the soil and loosen everything up so that the roots can take hold once the sod is in place. While you are tilling the soil, it is also a good idea to add some fertilizer to add extra nutrients for your new grass to feed on. Aim to till about two to three inches down into the soil for the best results.
Step 3 – Check Your Edges
Anywhere the grass will meet up with a sidewalk, path, or other garden feature, you’ll need to make sure it will have enough room to grow. In general, you’ll want the top of the soil to hit at least an inch below the path so that your grass doesn’t look overgrown. Now that your soil is all loosened up from tilling, it will be easy to clear away any soil that comes above that 1-inch mark. If you have to remove a lot of soil to get to the appropriate level, you may need to till those areas again to loosen up the soil underneath.
Step 4 – Create a Smooth Surface
Before you can lay your sod, you’ll need to have a level surface to work with. Go over the soil with a rake to smooth everything out. It’s fine if there are hills or bumps under the ground, but make sure that the soil is layered evenly over the top of them. After you have raked, spray everything with your garden hose, as sod will take best to soil that is a bit damp.
Step 5 – Lay it Out Roll By Roll
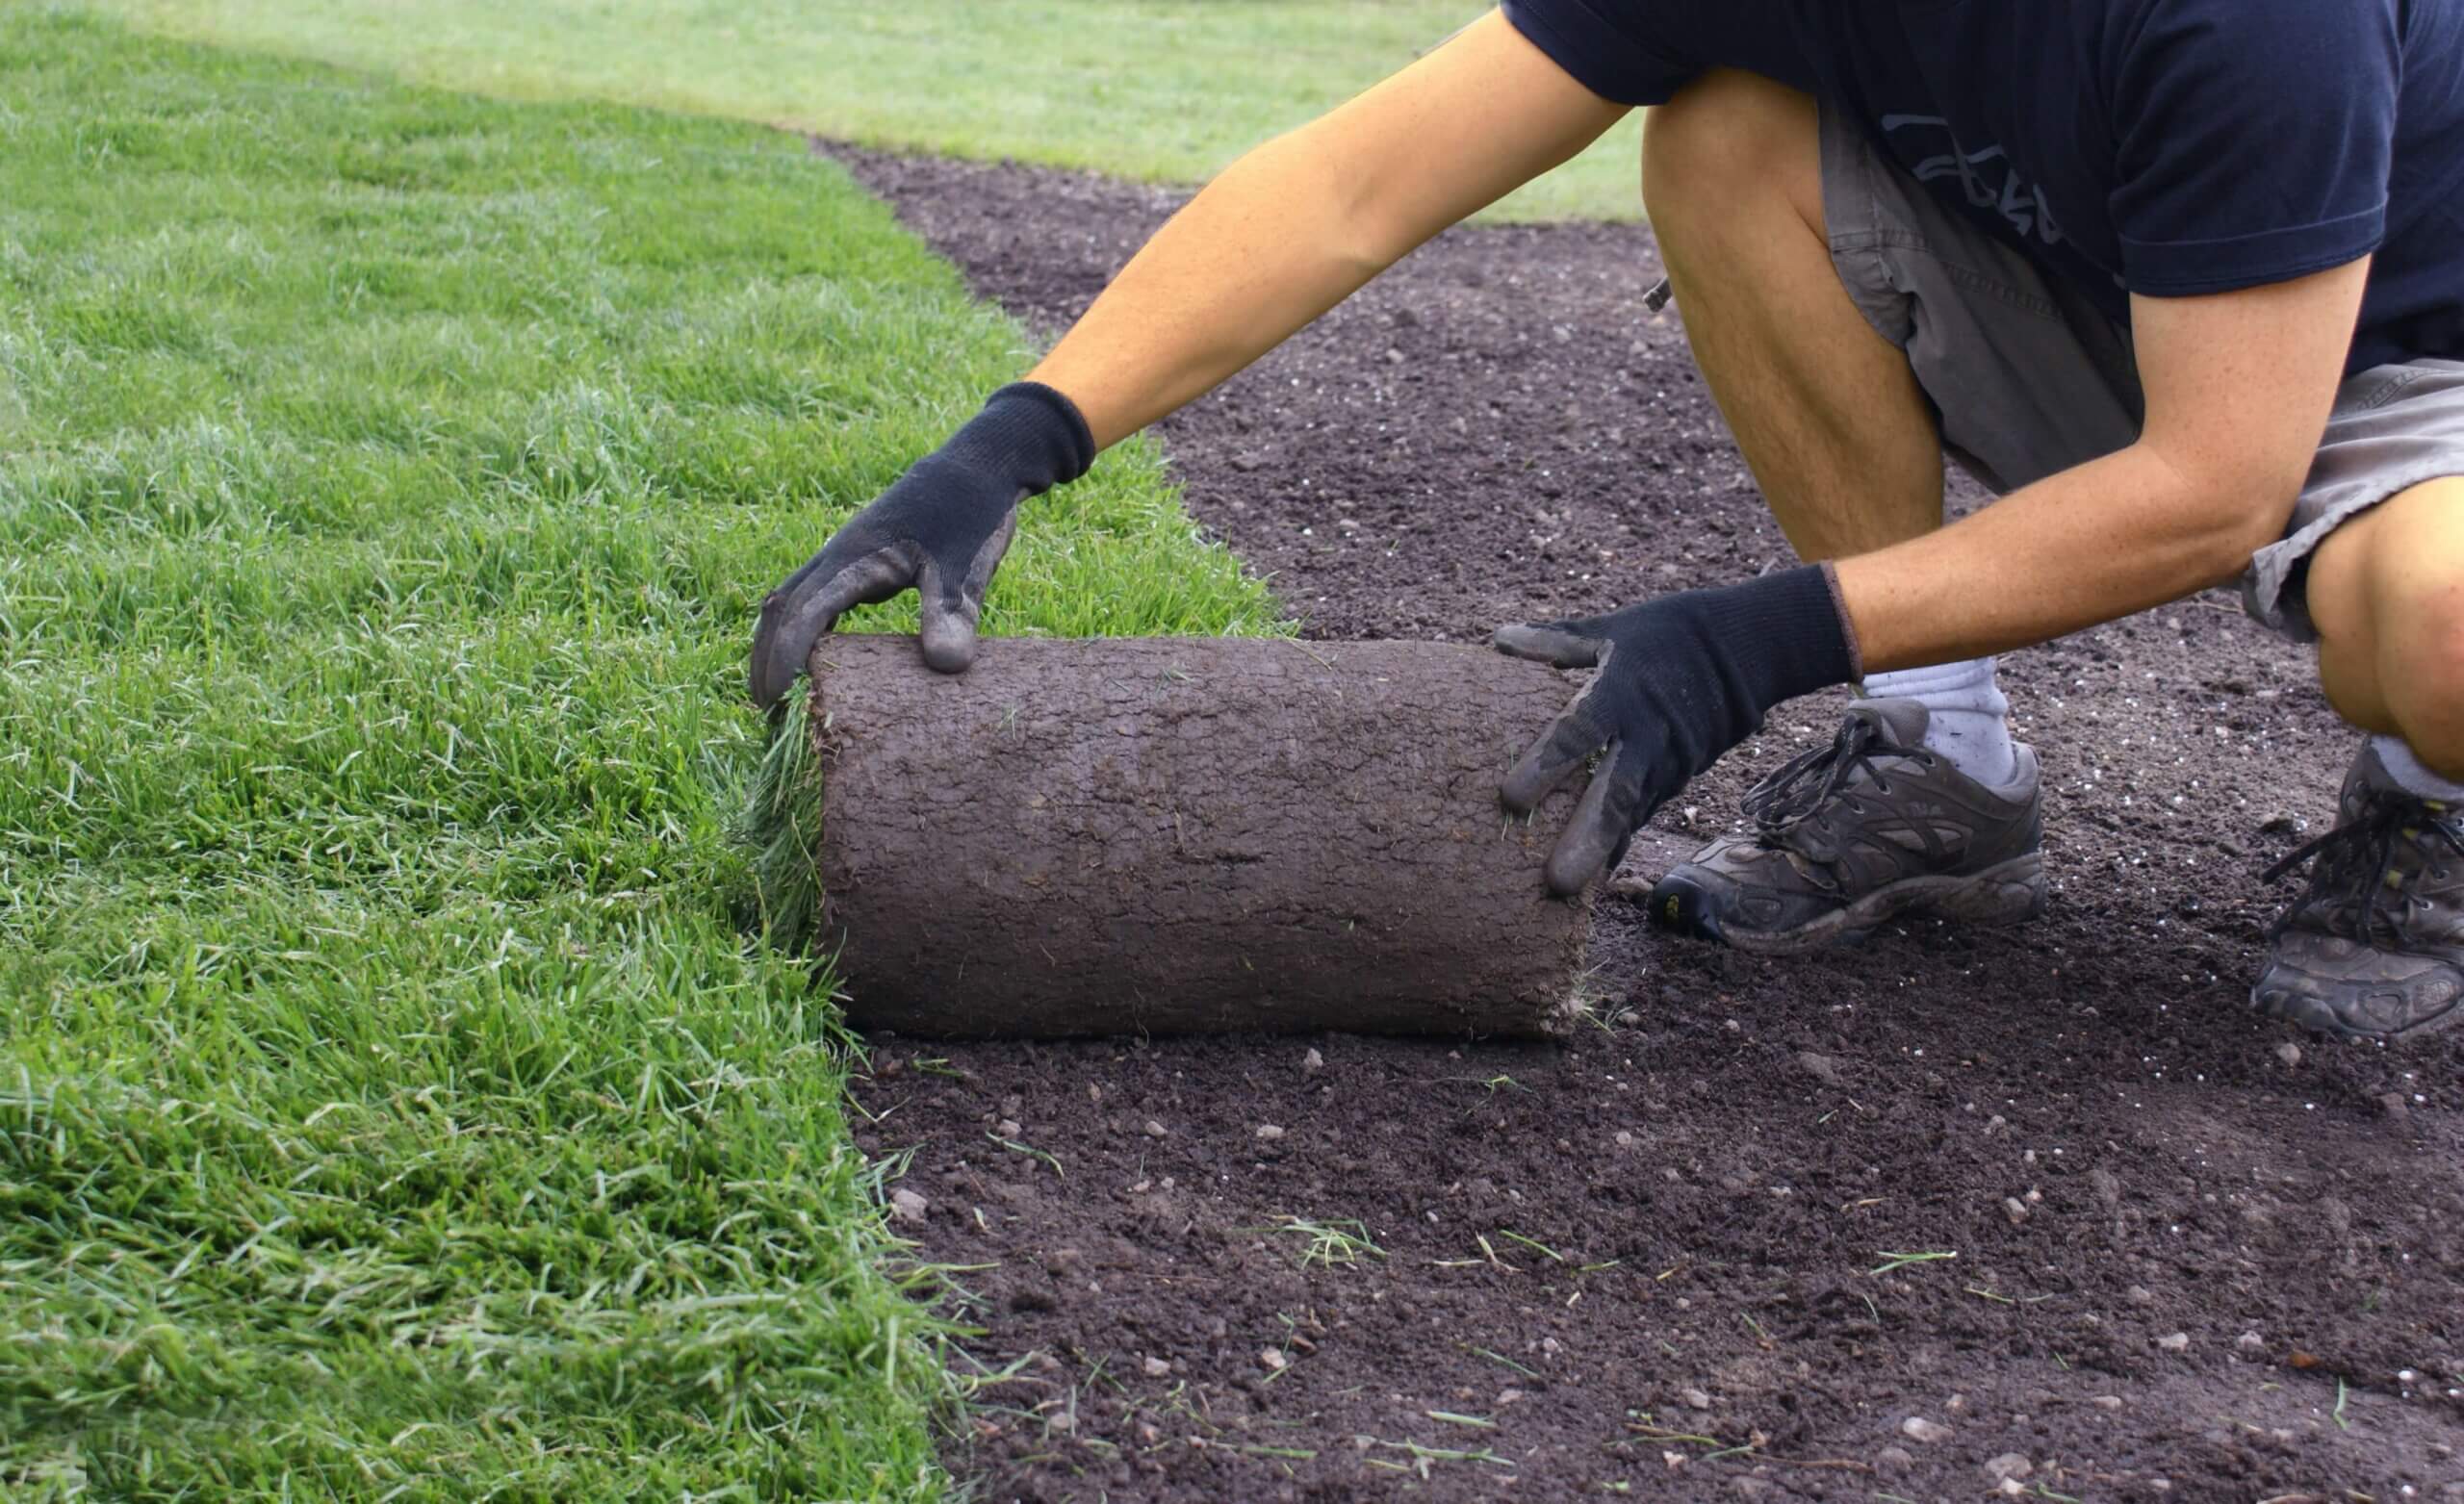
Starting in a corner, position the first roll of turf along one edge of where your lawn will be. Keep the edge of the turf as close as possible to the edge of your lawn space as you unroll it, and smooth out any bumps or ripples as you go. Do your best to keep off the sod while you are laying it, and rake any footprints away as you progress. Pat the sod down as you unroll to ensure there are no air pockets underneath. If you reach the opposite end of your yard before the sod is fully unrolled, cut off any excess to use in the next row.
Step 6 – Work Your Way Across the Yard
Line up the next piece of sod as closely as possible to the edge of the first without overlapping. Then repeat the process to lay the next row of sod. Keep working your way across your yard in rows until you have filled the lawn space. Try to stagger the seams where you can so you don’t end up with a stripe where all the sod segments meet, and position them as close together as possible to minimize any gaps.
Step 7 – Care for Your New Sod
Once everything is in place, give your fresh sod a good watering to help it take root. When the blades reach about 3 inches in height, it is time for the first mow. Make sure the blades are sharp and don’t use a ride-on mower until the grass is well-established.
For all your sod laying needs in Florida, you can count on Duda Sod.
We have a wide range of sod types for grasses that grow well in the Florida climate, including St. Augustine, Zoysia, Bahia, and more. We can also put you in touch with qualified sod installers so that you don’t have to do all the hard work yourself. Reach out to our team today to learn more on how to lay sod and get started.